How to Make Your Mouth Chicken Breast Recipe – You’ll Love
Are you tired of dry, flavorless chicken? You’re not alone. According to 2024 food search trends, “juicy chicken breast recipe” remains one of the most searched terms worldwide — because everyone loves chicken, but few get it just right.
This guide will show you how to make a mouthwatering chicken breast recipe that’s tender, flavorful, and foolproof every single time. Whether you’re cooking for family, meal prep, or a quick weeknight dinner, this dish delivers all the flavor and none of the fuss.
Get ready for the most delicious, juicy chicken breast you’ve ever tasted.
Ingredients List
You’ll only need a handful of simple ingredients to make this chicken breast recipe a hit:
- 2 large boneless, skinless chicken breasts
- 2 tbsp olive oil (or melted butter)
- 1 tsp salt
- 1/2 tsp black pepper
- 1 tsp garlic powder
- 1 tsp paprika
- 1/2 tsp onion powder
- 1/2 tsp dried thyme or oregano
- 1 tbsp lemon juice (optional, for brightness)
- Fresh parsley, for garnish
Optional Add-ins:
- Add a dash of cayenne for spice.
- Swap olive oil for avocado oil for a subtle nutty flavor.
- Replace thyme with rosemary for a more aromatic twist.
Timing
Cooking chicken to perfection is all about timing:
- Preparation Time: PT0H10M
- Cooking Time: PT0H20M
- Total Time: PT0H30M
That’s only 30 minutes total, making it one of the quickest, high-protein meals you can whip up on a busy evening.
Step-by-Step Instructions
Step 1: Flatten the Chicken
Place each chicken breast between two sheets of plastic wrap and gently pound it to an even thickness — about 1 inch thick. This helps it cook evenly and stay juicy.
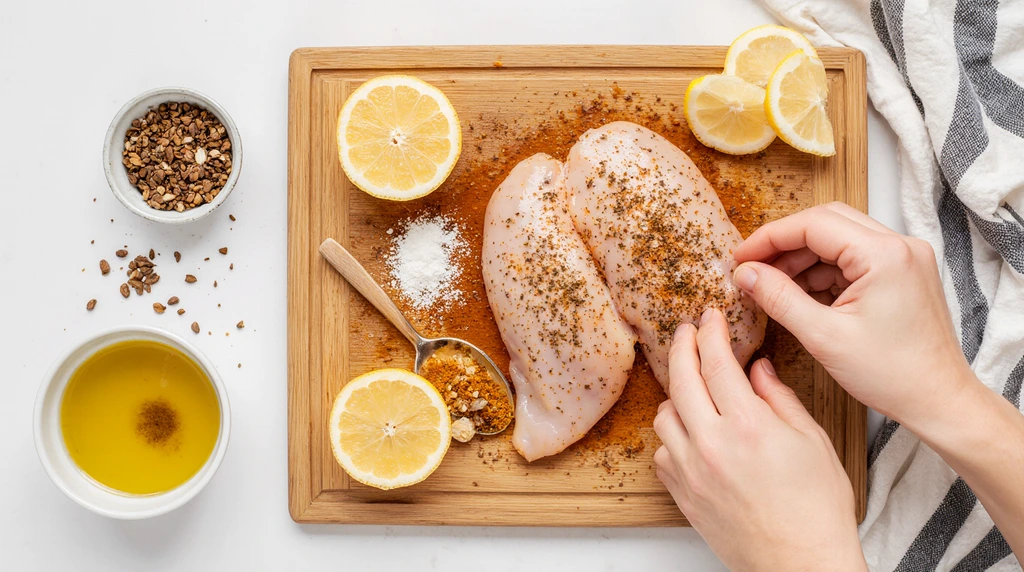
Step 2: Season Generously
In a small bowl, mix all seasonings (salt, pepper, garlic powder, paprika, onion powder, and thyme). Rub both sides of the chicken evenly with olive oil, then coat with the spice blend.
Step 3: Heat the Pan
Heat a large skillet over medium-high heat. When hot, add 1 tablespoon of olive oil and swirl to coat.
Step 4: Sear the Chicken
Add the chicken breasts and cook for 5–7 minutes per side, depending on thickness. Avoid moving them too much to develop a golden crust.
Step 5: Add Lemon and Finish Cooking
Once both sides are golden brown, add a splash of lemon juice or a few tablespoons of water. Cover the pan, reduce heat to medium, and let the chicken finish cooking for another 2–3 minutes.
Step 6: Rest Before Slicing
Remove from heat and let the chicken rest for 5 minutes before slicing. This step locks in the juices.
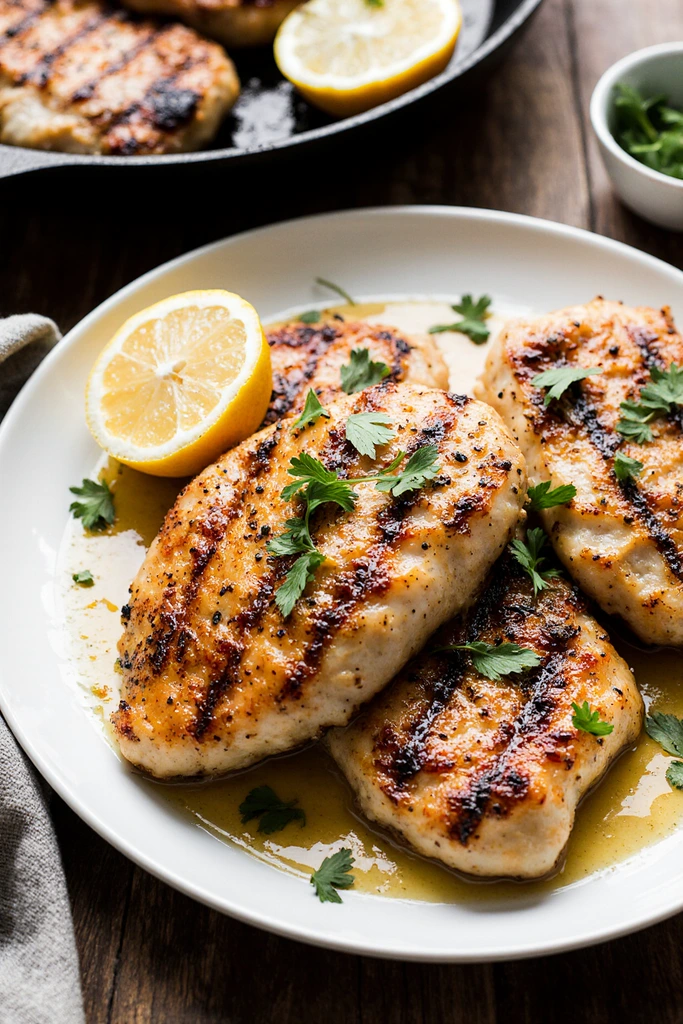
Step 7: Garnish and Serve
Sprinkle chopped parsley or drizzle with a bit more olive oil. Serve warm with your favorite side dish.
Nutritional Information
| Nutrient | Amount (per serving) | % Daily Value |
|---|---|---|
| Calories | 280 | 14% |
| Protein | 36 g | 45% |
| Fat | 12 g | 18% |
| Carbohydrates | 1 g | <1% |
| Sodium | 420 mg | 18% |
Data insight: Chicken breast is a lean protein source, low in fat and carbs — ideal for muscle building, weight management, and balanced meals.
Healthier Alternatives for the Recipe
This chicken breast recipe is already healthy, but you can make it even lighter:
- Use air fryer or oven: Instead of pan-frying, bake at 400°F (200°C) for 20 minutes or air-fry for 12–15 minutes.
- Replace oil with yogurt marinade: Mix Greek yogurt, garlic, and herbs for tender, juicy results.
- Go dairy-free: Skip butter and use olive oil or avocado oil.
- Add veggies: Toss in broccoli, peppers, or zucchini for a one-pan meal.
These swaps enhance nutrition while keeping the flavor irresistible.
Serving Suggestions
Pair your juicy chicken breast recipe with these sides for a complete dinner:
- Garlic mashed potatoes for a cozy, classic combo.
- Steamed vegetables or roasted asparagus for a lighter meal.
- Brown rice or quinoa for added fiber and energy.
- Fresh salad with lemon vinaigrette for a refreshing contrast.
Pro tip: Slice leftovers thinly and use them in wraps, sandwiches, or pasta the next day.
Common Mistakes to Avoid
Avoid these pitfalls to ensure your chicken stays juicy and flavorful:
- Overcooking: Use a meat thermometer — internal temperature should be 165°F (74°C).
- Skipping the rest: Resting time allows juices to redistribute.
- Uneven thickness: Flattening ensures consistent cooking.
- Not seasoning enough: Don’t be afraid to season boldly.
- Using a cold pan: A preheated pan creates that perfect golden sear.
Storing Tips for the Recipe
Got leftovers? Here’s how to keep your chicken breast recipe tasting fresh:
- Refrigerate: Store in an airtight container for up to 3–4 days.
- Freeze: Wrap individually and freeze for up to 2 months.
- Reheat: Warm gently on the stove or in the microwave with a splash of broth to prevent drying.
Meal prep idea: Cook several breasts at once and slice for salads or wraps throughout the week.
Conclusion
Juicy, flavorful, and ready in 30 minutes — this chicken breast recipe is proof that simplicity wins in the kitchen. With the right seasoning, cooking technique, and a little patience, you can turn basic chicken into a meal everyone will crave.
Give this recipe a try tonight, then share your results in the comments or subscribe for more quick, delicious dinner ideas you’ll love.
FAQs
Q1: Can I bake this chicken instead of pan-frying?
Yes, bake at 400°F (200°C) for 20 minutes or until internal temperature reaches 165°F (74°C).
Q2: How do I keep chicken breasts from drying out?
Flatten the chicken for even cooking and don’t overcook. Rest for 5 minutes before slicing.
Q3: Can I marinate the chicken overnight?
Absolutely — marinating overnight enhances tenderness and depth of flavor.
Q4: What’s the best oil for this recipe?
Olive oil or avocado oil are best for flavor and a golden crust.
Q5: Is this chicken breast recipe meal-prep friendly?
Yes! It stores well for several days and reheats beautifully.
Did you like this recipe?
There are no reviews yet. Be the first one to write one.